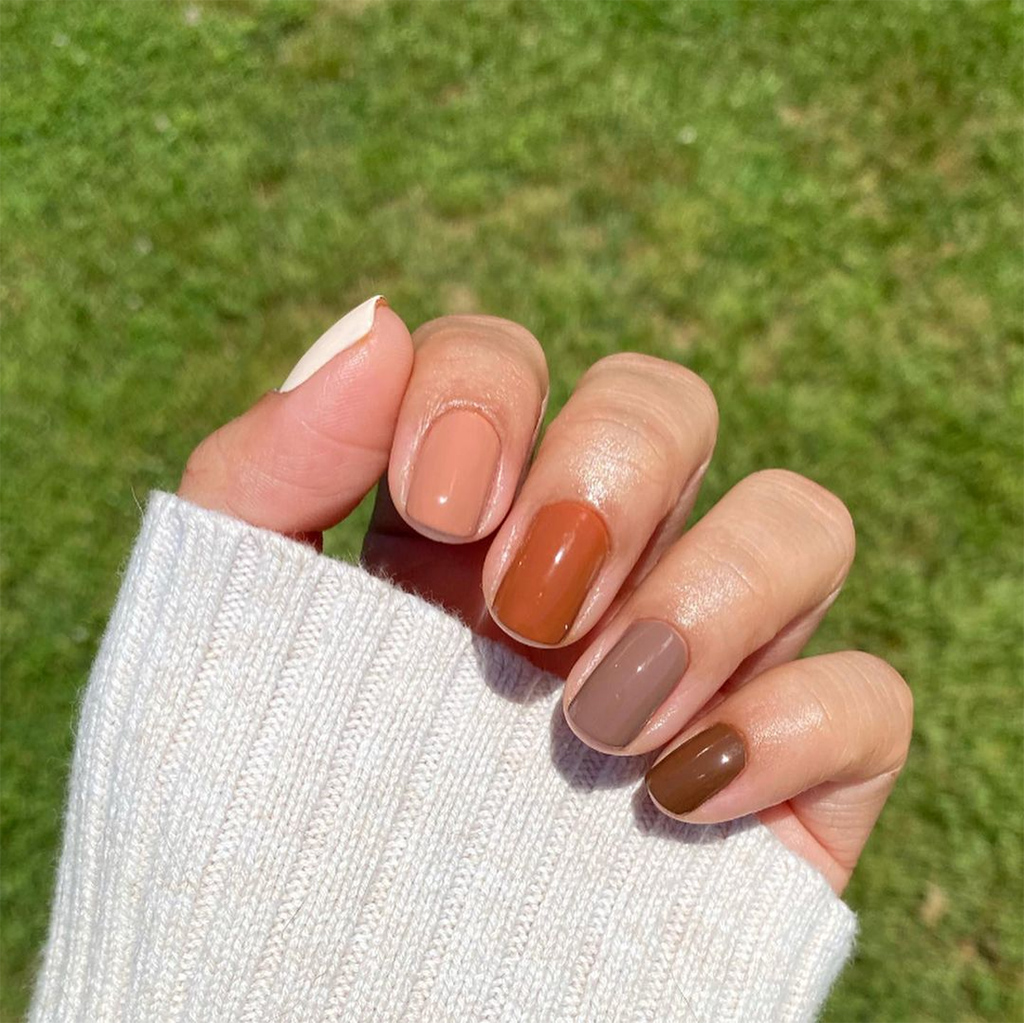
Wearing the same gel polish design can get monotonous. You need to have spice in your designs for people to admire your creativity. Here are a couple of exciting DND gel polish colors hacks you should not be afraid to try out. Besides making a strong fashion statement, you could set the trend for others to follow.
Paper Transfer Nail Art Design
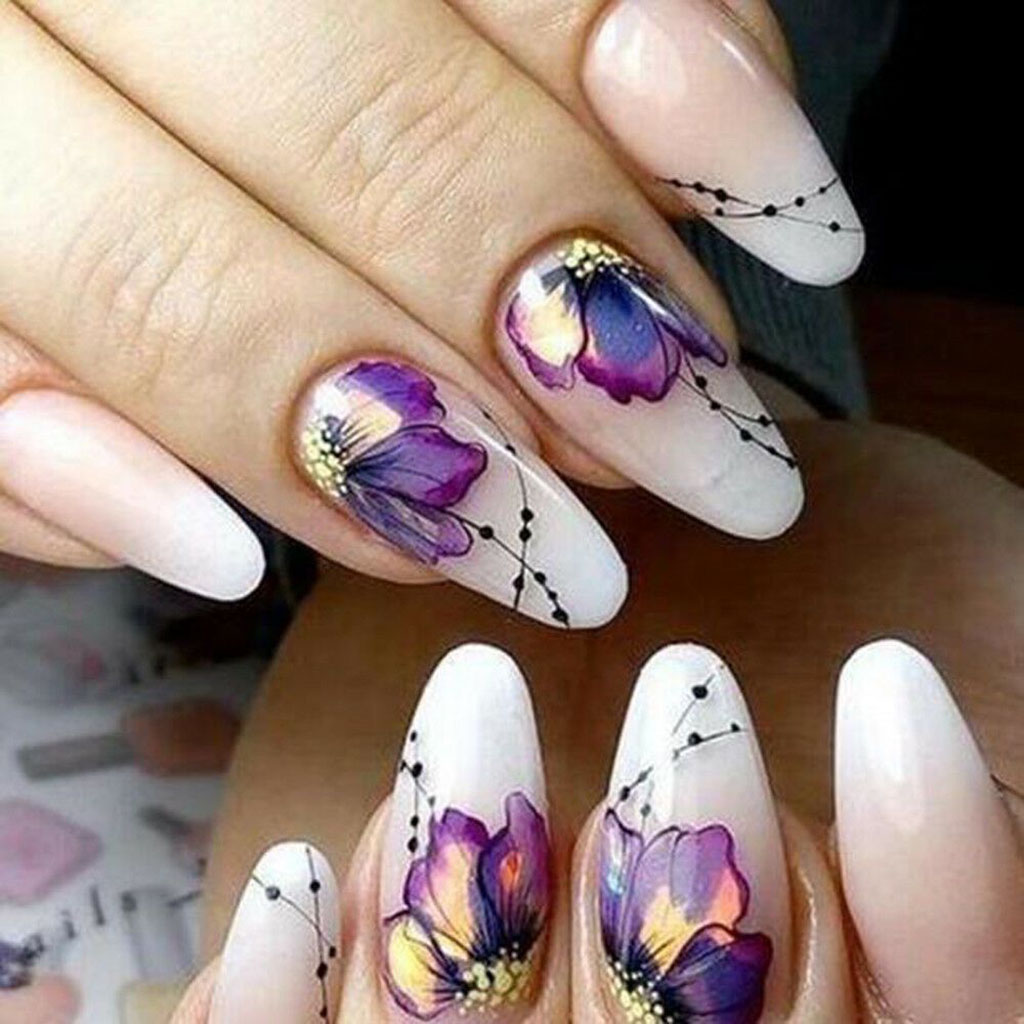
You would have tried out various designs to make your gel manicures different from the others. The most common among these designs are the flower designs. Women love flowers, and hence, these designs are popular among women of all ages.
Have you ever heard about paper designs? They can be cute and unique. Let us see how simple it is to create this exciting paper transfer nail art design.
The most exciting aspect of this unique design is that it does not need a lot of materials. You can also create this design in quick time, unlike the water marbling gel manicures. The enticing part is that you need not be too artistic to pull off the paper transfer nail art design.
This nail art design does not require much investment other than the regular gel polish items you need for your regular gel manicure. Newspaper cuttings or even colorful paper can prove sufficient to create exciting paper transfer nail art designs.
The Ingredients
Before you start your paper transfer nail art design, you should be ready with the following ingredients.
- White color nail polish is crucial because other colors do not give as good an imprint as the white color.
- Basecoat.
- Rubbing alcohol.
- A small cup.
- Newspaper cuttings or any colorful paper designs cut into small squares that can cover your entire nail.
- DND Nail polish topcoat.
Step by Step Paper Transfer Nails
Step 1 – Apply the basecoat and the base color
As usual, you start with the basecoat. You can paint all your nails with a basecoat to protect your nails. It is advisable to have an opaque white base as it serves as a fantastic canvas. The basecoat should become completely dry before you move on to the next step.
Step 2 – The Alcohol treatment
Pour some rubbing alcohol into the small cup up to the level where you can soak your nails quickly. Dip your fingernails into the alcohol one by one. Many people use water, but alcohol is better as it enables a clearer transfer. If you do not love the alcohol smell, you can use water.
Step 3 – The Paper Nail Art Transfer
Pick one of the square paper cuttings and press it on your nail with the image facing downwards. Hold on to the paper for approximately 30 seconds and remove it carefully. The longer you press the paper on your nail, the sharper the design will be.
Repeat the same procedure (Step 2 and Step 3) with all your fingernails. Please do not move the paper around as it can cause smudges.
Step 4 – The Topcoat application
Once you are ready with the paper designs on your nails, wait for about five minutes before applying the topcoat. It helps to protect the design and make your nail look glossy.
Your paper nail art transfer design is over. However, you will notice that the nails turn a bit grayish after the application. A lot depends on the kind of paper you use. If you have newspaper clippings, your nails will become grayish. If you have colorful paper cuttings, the color changes happen accordingly.
We have seen how to do the paper nail art transfer design. Have you ever tried out the nail art designs using permanent markers? They can be equally cute and make your nails look glamourous.
How To Use Permanent Markers?

Generally, you use acrylic paint and a fine brush to create unique nail art designs on your nails. The Fine Point permanent marker gives you a stable grip to etch out your favorite designs. You can try out these designs for yourself comfortably.
The Ingredients
Here are the ingredients you should have before trying out designs using permanent markers.
- Your regular DND DC colors polish kit.
- Permanent Markers with various color combinations.
Let us see how to complete the marble design using permanent markers.
Step by Step Permanent Markers Nails
Step 1 – The Regular DND Nail Polish Manicure
Apply your gel polish like you do usually by staring with the basecoat application, the gel polish color, and curing under the LED/UV lamp.
Step 2 – The Glass Marble Design
Once you complete the DND nail polish manicure, you can use the permanent markers to create a glass marble design on each of your nails before applying the topcoat.
Step 3 – The Topcoat Application
On completing the glass marble design, you can proceed with the final job of applying the topcoat. This application lends a glossy feel to the entire nail.
Conclusion
Similarly, you try out other designs like the colorful tulip design, the black nails with gold accent, and many more. These were some of the simplest DND gel nail hacks we discussed. Keep watching this post to know more about interesting nail art hack designs.